The Best Way to Insulate an Attic Revealed
The attic is where heat, humidity, and air leaks collide. The smartest approach to insulation in 2025 isn’t about choosing a single product it’s about understanding the system behind it: defining the boundary, sealing leaks, controlling vapor, and layering materials with proper ventilation. When these elements work together, homeowners gain year-round comfort, lower energy costs, and longer-lasting protection against moisture and heat.
 Method Over Material: Set the Right Boundary
 Method Over Material: Set the Right Boundary
Start by deciding where your thermal and air boundary belongs. In many homes, a vented attic keeps insulation on the floor and outdoor air above. In others especially where ducts and air handlers live in the attic an unvented approach brings the roof deck into the conditioned envelope. The correct choice depends on roof design, duct location, moisture history, and local code. Aligning the air barrier with the insulation layer is non‑negotiable.
Air Sealing First: The Quiet MVP
 Air Sealing First: The Quiet MVP
Air moving through gaps undermines any R‑value. Seal top plates, wire penetrations, plumbing chases, around can lights, attic hatches, and knee‑wall transitions before adding new material. This curbs stack‑effect losses in winter, hot‑air infiltration in summer, and reduces dust movement. Attic Fanatics treats air sealing as a separate, testable task so the insulation that follows can actually deliver.
Vapor Control That Respects Climate
 Vapor Control That Respects Climate
Vapor barriers are not “one size fits all.” In warm, humid regions, the goal is to avoid trapping moisture. Smart vapor retarders or closed‑cell spray foam at the roof deck can manage diffusion while preserving drying potential. In cooler climates, a well‑placed retarder on the warm‑in‑winter side limits condensation risk. Vent paths must remain open and balanced; soffit baffles protect airflow and prevent wind‑washing.
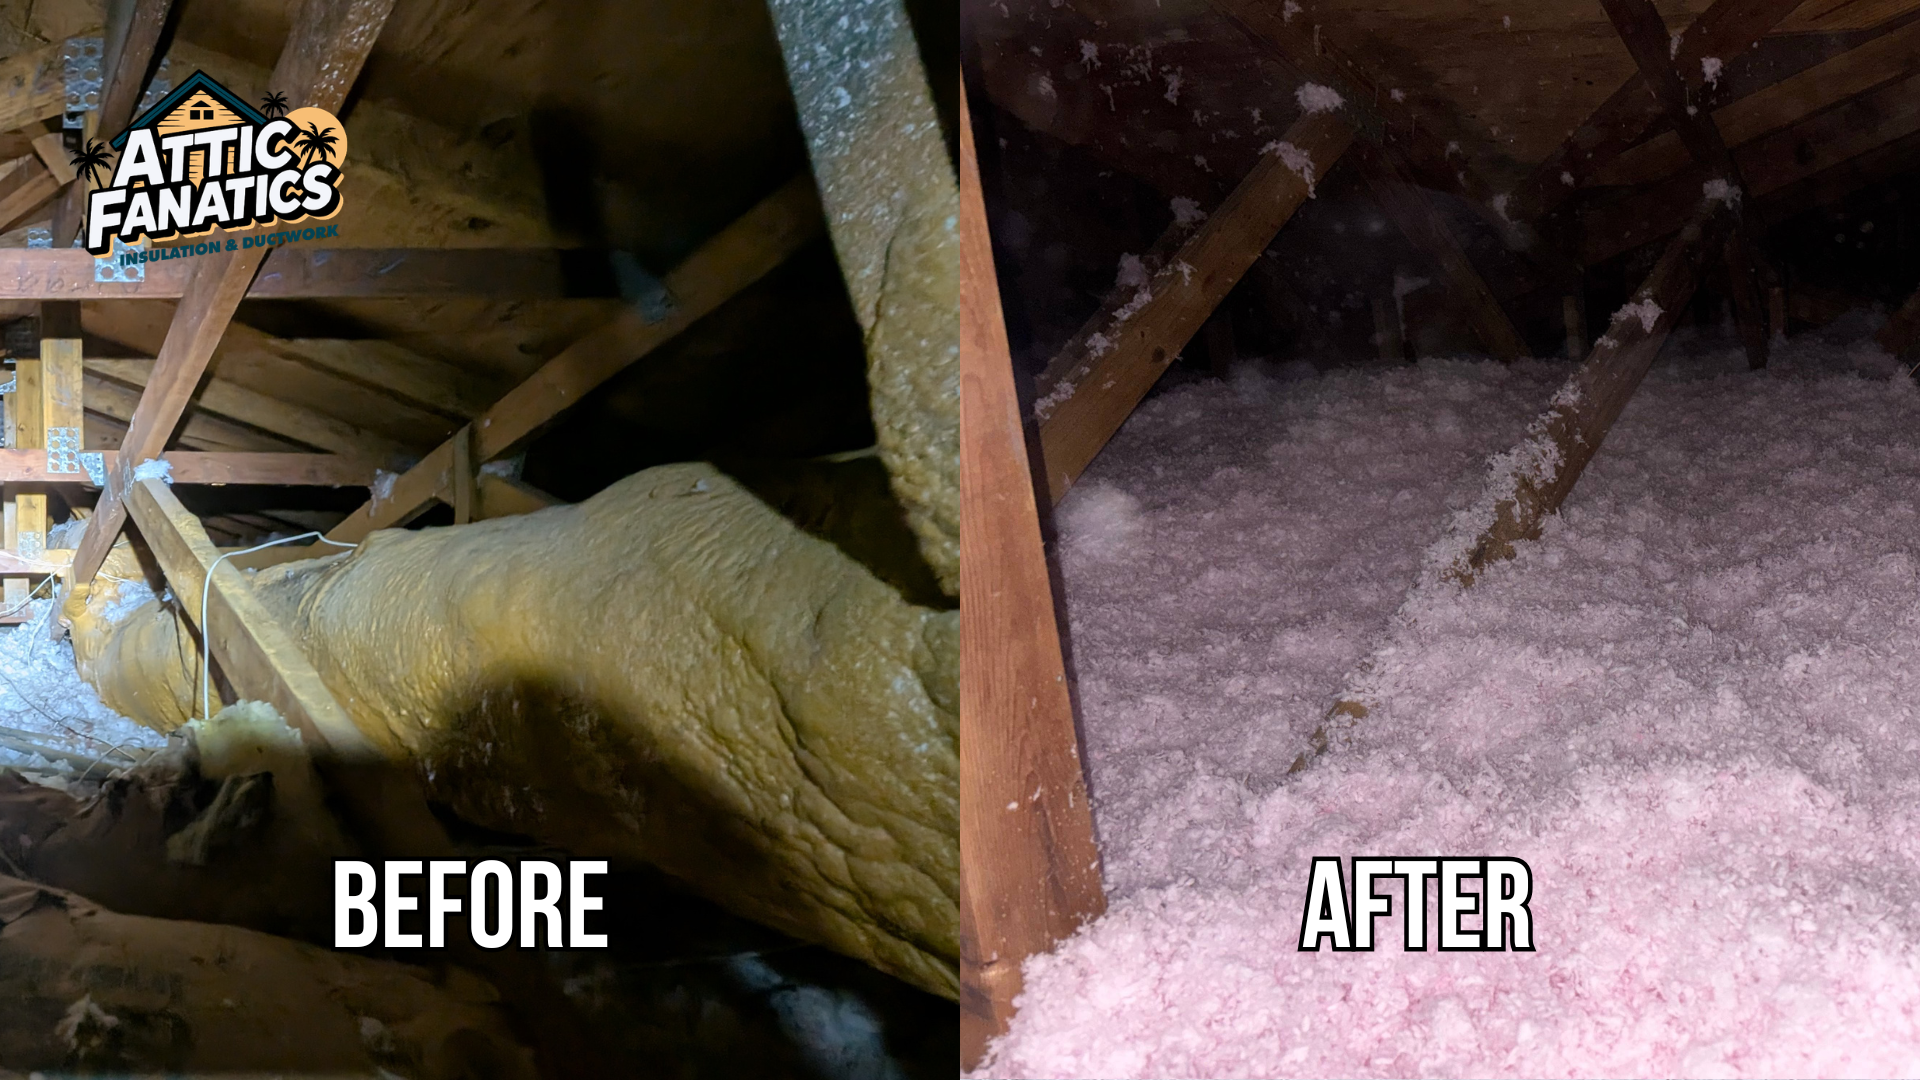
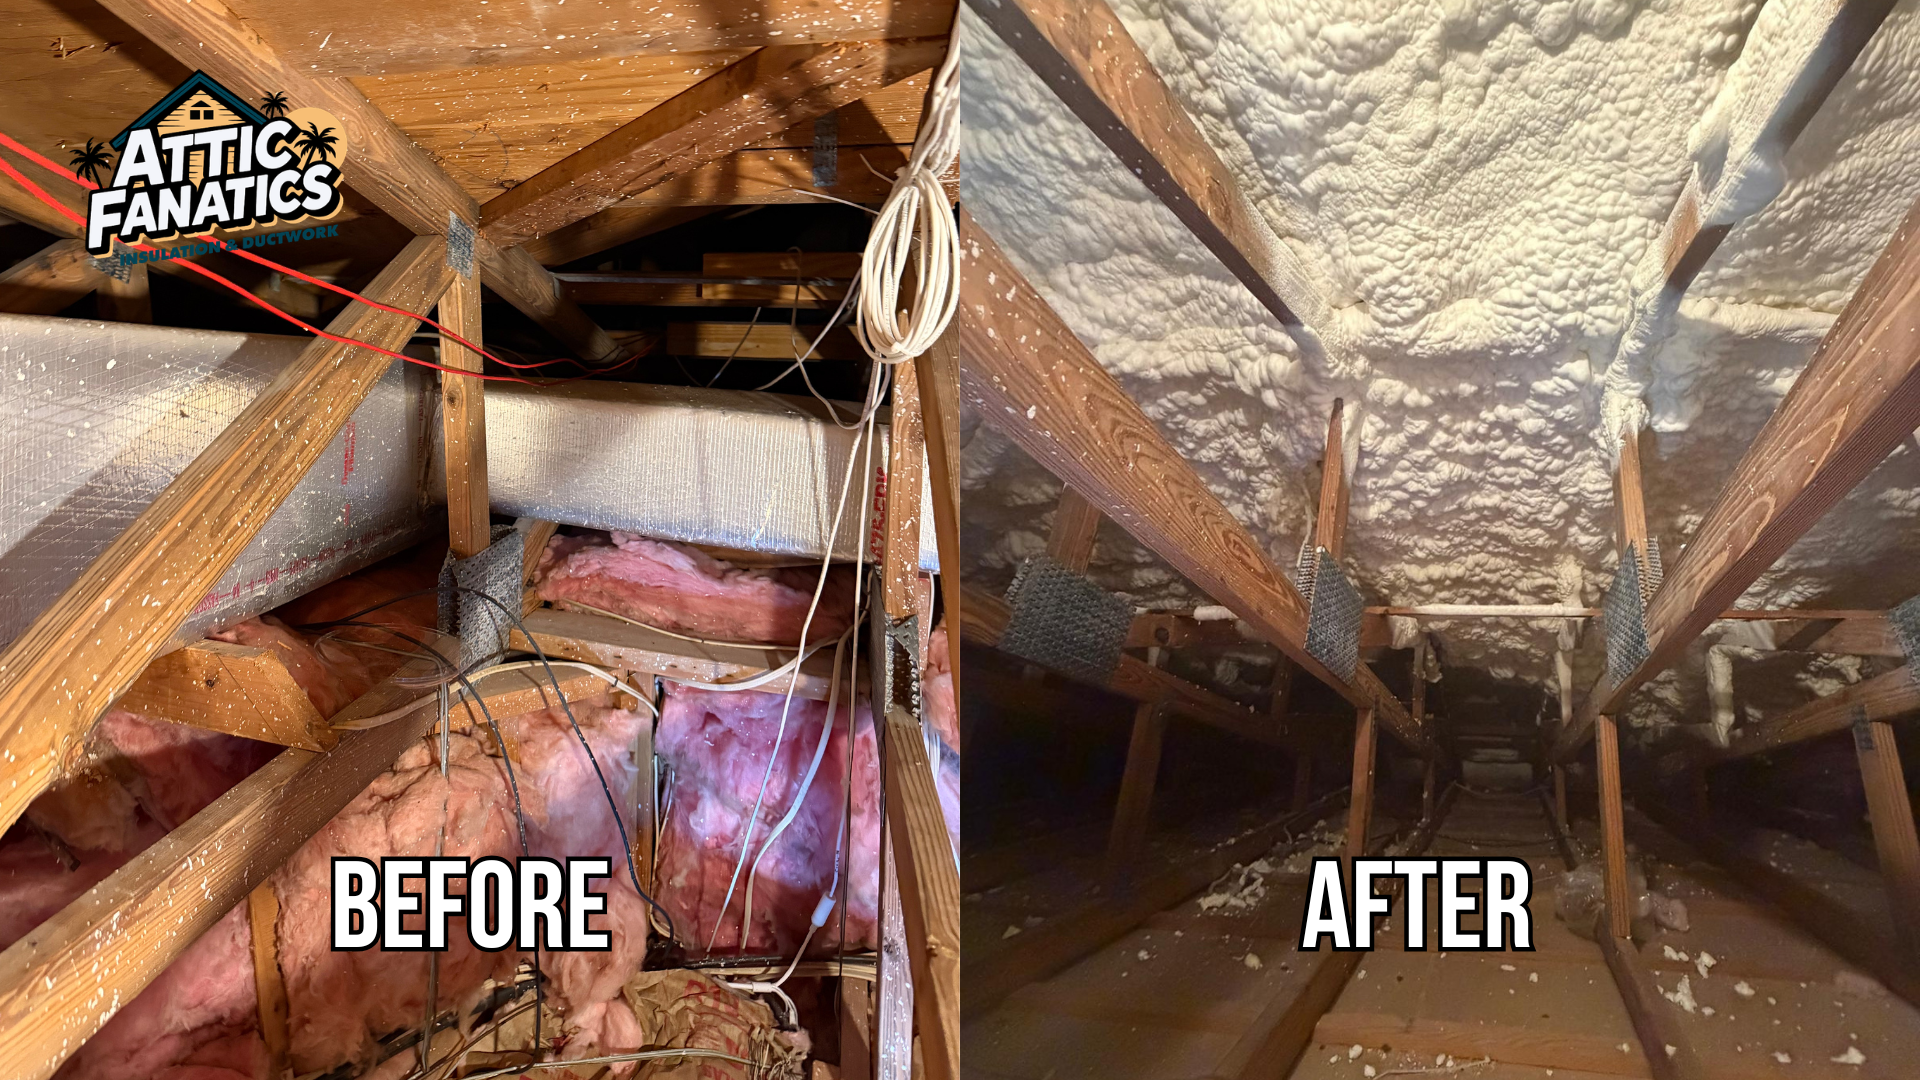
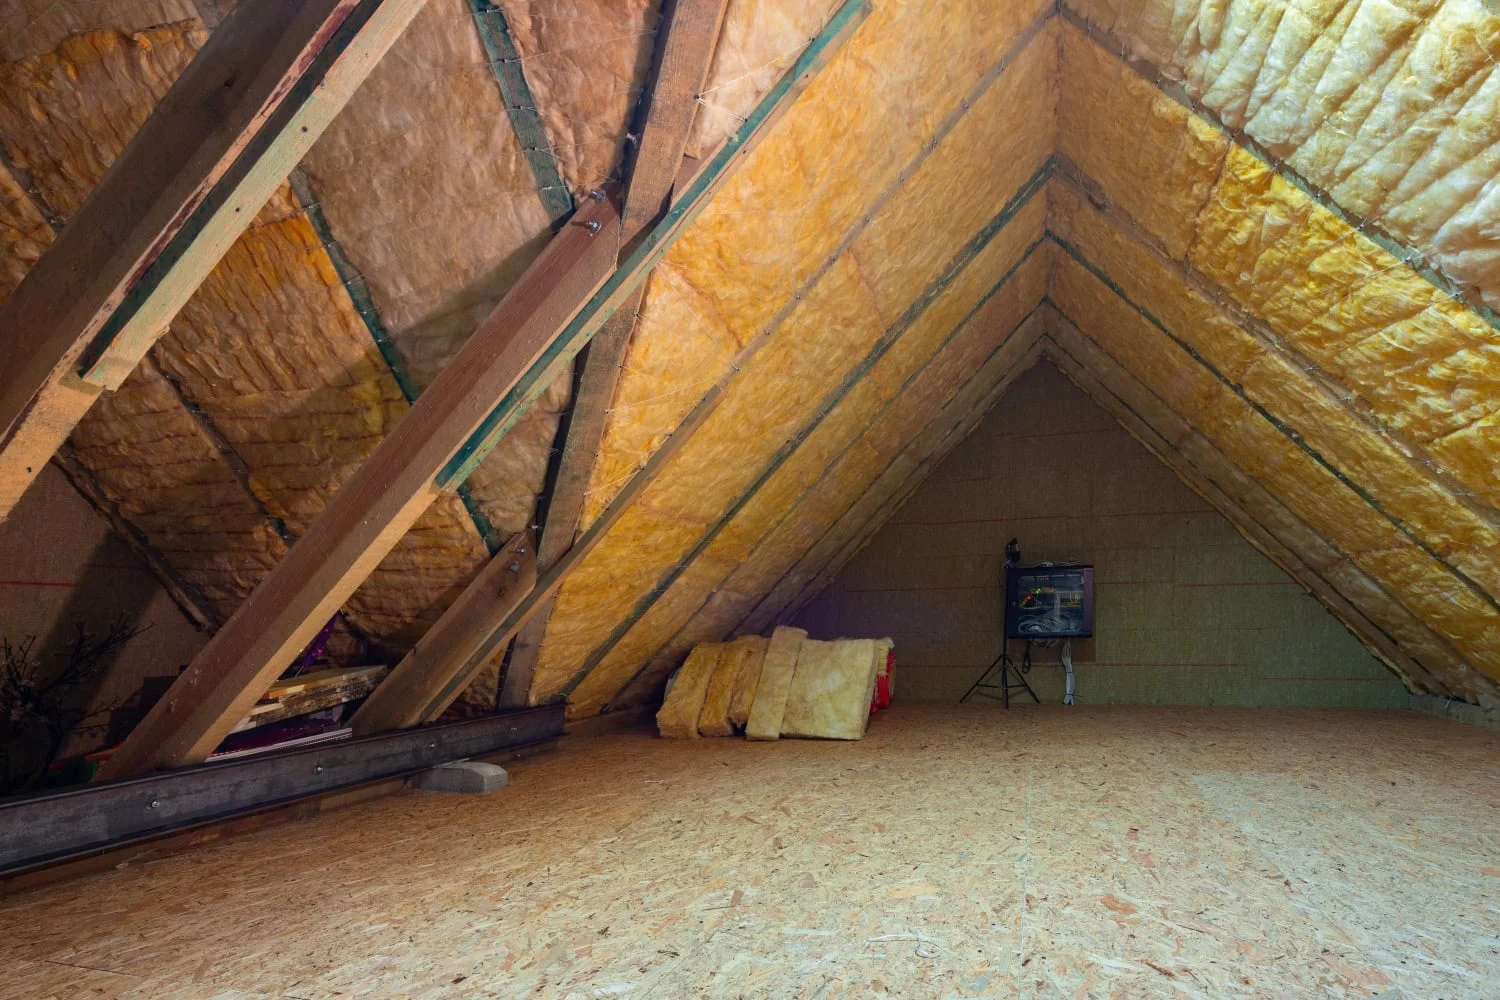
Layering That Works: Floor vs. Roof Deck
 Layering That Works: Floor vs. Roof Deck
In vented assemblies, deep loose‑fill (fiberglass or cellulose) over a sealed floor delivers uniform coverage and minimal thermal bridging. Storage areas need raised platforms so insulation isn’t compressed. Where the roof deck is insulated, spray foam creates a continuous air/thermal layer that stabilizes attic temperatures and protects ductwork from extreme heat.
Details matter: insulated and gasketed hatches, wrapped and supported ducts, and continuous baffles at every bay.
Why Professional Installation Beats DIY
 Why Professional Installation Beats DIY
- Diagnostic testing (e.g., blower‑door, infrared) targets real leaks before burying them.
- Moisture strategy is designed, not guessed proper vapor control and drying paths.
- Code‑safe clearances around chimneys, recessed lights, and flues are maintained.
- Ventilation continuity is preserved with correctly sized and aligned baffles.
- Verified coverage and depth (markers, photos, thermal scans) sustain long‑term performance.
 Diagnostic testing (e.g., blower‑door, infrared) targets real leaks before burying them.
 Moisture strategy is designed, not guessed proper vapor control and drying paths.
 Code‑safe clearances around chimneys, recessed lights, and flues are maintained.
 Ventilation continuity is preserved with correctly sized and aligned baffles.
 Verified coverage and depth (markers, photos, thermal scans) sustain long‑term performance.
 Practical Guidance from the Experts
 Practical Guidance from the Experts
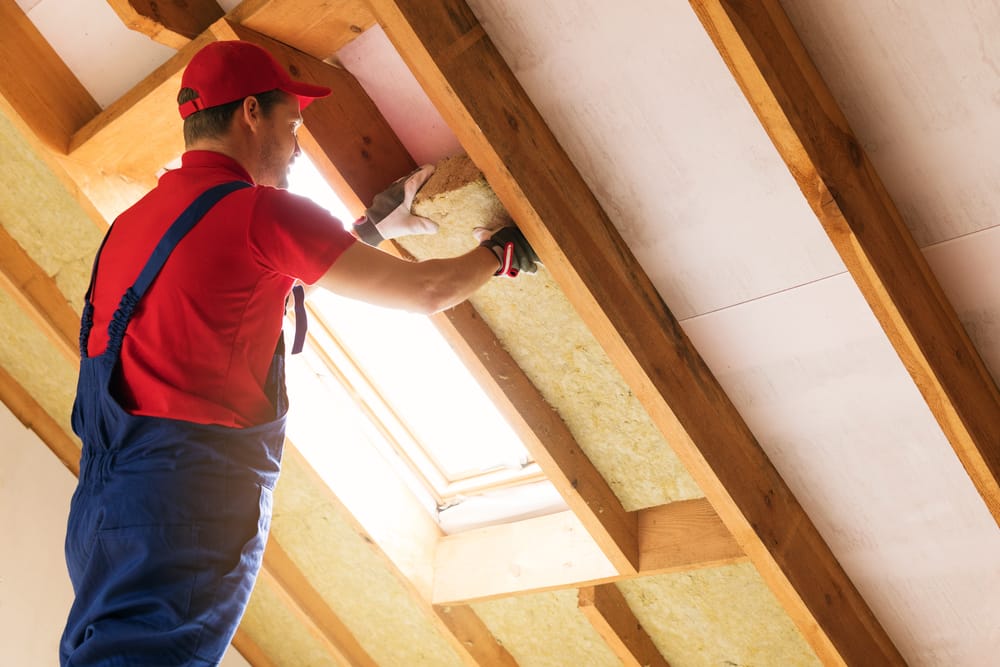
Expect a disciplined sequence: inspection, remediation of any contamination, thorough air sealing, then insulation tailored to the assembly you chose. For vented attics, continuous coverage and protected eave ventilation are the priority. For unvented designs, closed‑cell or open‑cell foam at the roof deck must be continuous at ridges, valleys, and transitions, with careful attention at skylights and dormers. Hatches get rigid insulation plus gaskets; knee walls receive full‑contact insulation and an interior air barrier. After major storms or roof work, a quick attic check for staining or displaced material preserves performance and prevents hidden moisture issues.
Attic space insulation done right
 Attic space insulation done right
The best results come from a system, not a single product: a defined boundary, verified air sealing, climate‑appropriate vapor control, and well‑detailed layering. Attic Fanatics applies that framework to cut energy loss, stabilize temperatures, and keep the building dry so comfort holds steady season after season.